

Design Guides
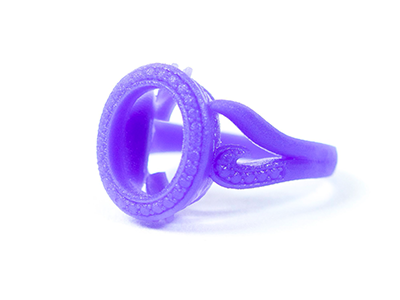
The MJP process consists of a print head, platform, UV lamp, and a planarizer. Just like any 3D-printing machine, the process requires a 3D CAD file. The 3D printer then prints each layer of the file in UV curable liquid plastic onto a flat platform. The wax support material is also jetted to fill voids and other non-freestanding features. UV lamps solidify the materials, creating a fully cured plastic or wax part.Multi Jet Printing (MJP) is a new Rapid Prototyping process that provides a quick turnaround for smooth, high-resolution, hard plastic parts with complex geometries.
MJP Design Guides

Tolerances: ± 0.02 mm is standard.
Overhangs: Cleaning does not need manual work, only need to melt the wax, can clear the stent in 30 minutes.
Walls: MJP can manage very thin walls but QSY do not recommend anything under 0.3 – 1mm.
Mating Parts: Minimum 0.5mm gap between axel and bore or other moving parts.
Holes & Slots: We recommend a minimum of 0.5mm but the larger the better especially as wall thickness or depth increases.
Text & Engraved Details: Are at risk of closing up if not designed with 0.5mm > minimum height.

Pins & Embossed Features: Pins ≥ 0.8mm but even then risk breaking. Embossed features ≥ 0.3mm.